Table of Content
Gel nail polish is intended to last for weeks without chipping. Thus, you may be tempted to keep it for as long as possible. However, experts recommend keeping gel nail polish to a maximum of two weeks to prevent damaging your nail beds and cuticles. The best part is the amount of money youll save over the salon.

With our easy tips and tricks, you'll be able to remove your gel nails safely and without any damage. Well, that depends on what you’re looking to get out of the process. One of the best things about doing your own gel nails at home is that it’s cheaper than going to the salon—especially if you get them regularly. Professional gel manicures usually start at $35 , whereas DIY kits start can cost anywhere from $30 to $80 and can be used as frequently as you like.
Rubbing alcohol
She has over eight years of nail artist and management experience and is known for her push-the-envelope designs and artistic eye for colors. Her work has been featured in the San Francisco Chronicle and StyleCaster. She holds a BBA focusing on Entrepreneurial and Small Business Operations from San Francisco State University.
Gel nail polish application requires many tools you probably already have in your at-home nail polish kit, but with a couple of important additions. Using the PH Bond from the kit, apply to your nails and let it sit for at least 30 seconds. If you are using rubbing alcohol (it’s literally the same thing), use a lint-free cloth like a paper towel, soak it in alcohol and rub it across your nails. The purpose of rubbing alcohol is to dehydrate your nails. Typically, most gel removal steamers will beep you, indicating it’s done. When you’re told it’s complete, use an orange wood stick or a nail scrapper to scrape off the gel polish.
Can You Remove Dip Powder Without Acetone
Gel nail polish removal is often better left to the pros, but if you want to take the matter into our own hands (ah!), we’ve got you covered. After removing gel nail polish, it is best to moisturize. Massage your nails and surrounding skin with some cuticle oil or petroleum jelly a few times each day. Follow it up by applying thick hand cream or salve to seal the moisture in.

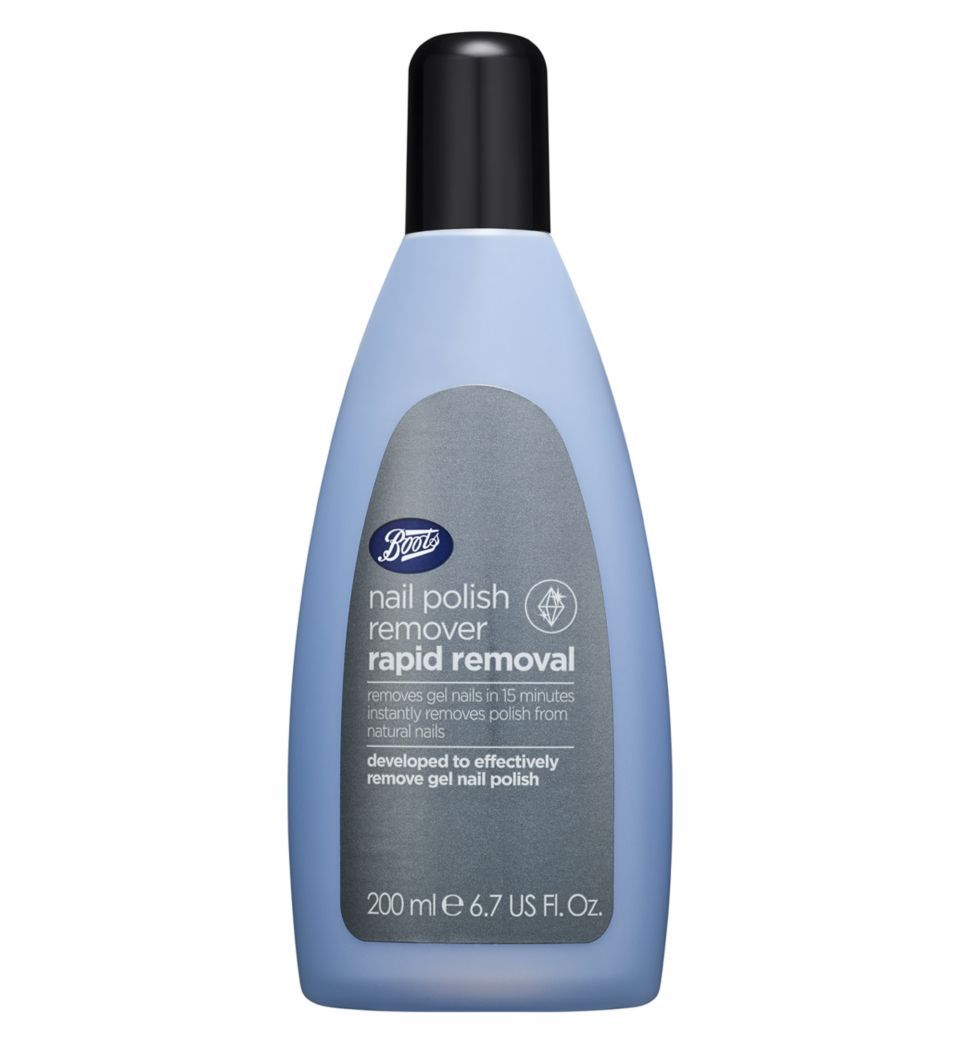
Fill a small dish with nail polish remover and soak 10 cotton balls (not cotton pads, which don't saturate as well as cotton balls). Cotton balls are also smaller and better fit your nail, which means less harsh acetone on your cuticles. A nail file is essential to ensure that the gel polish is filed off evenly and to prevent your nails from splitting.
Apply base coat
While its hard for gel polishes to be completely clean, the biggest ingredients you want to keep an eye out for are dibutyl phthalate, formaldehyde, and toluene. These ingredients are not only toxic, but some are even carcinogenic. So, if youre mindful about shopping clean, this is something you certainly want to be aware of. A cuticle pusher is used to push the gel polish off each nail. It is best to use a metal cuticle pusher because it is strong and precise, allowing you to get into hard-to-reach areas without damaging the surrounding skin.

As you can see from the pictures below, I was quite happy with how they turned out and didn’t need to do anything. I love a natural-looking nail, not too thick but still a good C Curve. As you removed the topcoat and some of the gel, you move on to a softer file. Gently go over your natural nail to remove the shine and remove any product that is lifting.
Now that you know what I use, let’s get started with the actual step by step tutorial. Some research and found this article, which has been very helpful. It has shown me exactly what I need to do to make sure I get a quality manicure at home." Soon after you have painted your nails, you can start doing daily activities and chores, such as dishes. Just be careful of activities that have a tendency of chipping the tip of your nails, which is where chipping tends to occur most.

The next step is to put a little bit of thick, white shade of eye make on your topmost nail, at the tip. It's quick and easy with some foil, acetone, and cotton. Alternatively, you can pour the acetone in a bowl and soak your fingers directly in it. However, Colley prefers the wrap technique, as it’s easy and mess-free. For example, if your nails are greasy on the surface, the best way to clean such nails is to wash them off with any mild soap. Wash off that coating, until the coating dries loosen your nails, and Youll need to wipe one layer off.
As you can see in the picture below, these are my nails 2 weeks old after my last infill. They have grown quite a bit, I usually leave them until week three but I got some new nail goodies and wanted to try them out. The part just above my cuticle, which is a bit darker is my outgrown nail. Apply a thin layer of petroleum jelly to each cuticle and the surrounding skin. This will help protect your skin from the acetone.
A UV lamp or LED curing lamp is the only right choice here. However, our recommendation is to stick with an LED curing lamp as it omits less UV light and dries the gel polish the quickest. Without a curing lamp that emits UV light, you won’t be able to cure your gel nails. A top cost also provides longevity for the gel nail polish. Our article on how to make nail polish last longer will provide more information on the subject.
To apply gel nails, first cut and file your nails so they’re all the same length. Then, apply cuticle oil to your cuticles to loosen them, and push them back with a cuticle pusher. Buff each of your nails, which will remove built-up oils and help your gel nails last longer. Wipe your nails off with an alcohol wipe when you’re finished.


No comments:
Post a Comment