Table Of Content
The sturdy machine is made to cut through a variety of materials from paper and iron-ons to felt and lightweight leather. Its built-in Bluetooth allows for wireless cutting, writing and scoring features. Over here on the left is our font menu and it’s defaulted to Cricut Sans. If we click it, we get access to all of the fonts. Now, just like with the images, we can tell when a font is available for Cricut Access with the little green symbols that we see here.
I love my machine and app.
Cricut Is Charging Users for the Machines They Already Own [UPDATED] - MUO - MakeUseOf
Cricut Is Charging Users for the Machines They Already Own [UPDATED].
Posted: Mon, 15 Mar 2021 07:00:00 GMT [source]
And if we go up here to the line type menu, next to the menu that says cut, which is our default, our default choice is to cut, we have currently a dark gray box. This is the color picker box, and if I click on it, I get access to a menu of common colors. I could choose one like red, and now it’s red. Now, if you click on advanced here, which is the little plus sign, you get access to whatever color you want. So if you really want like a more of a pink, you can just use this grid here.
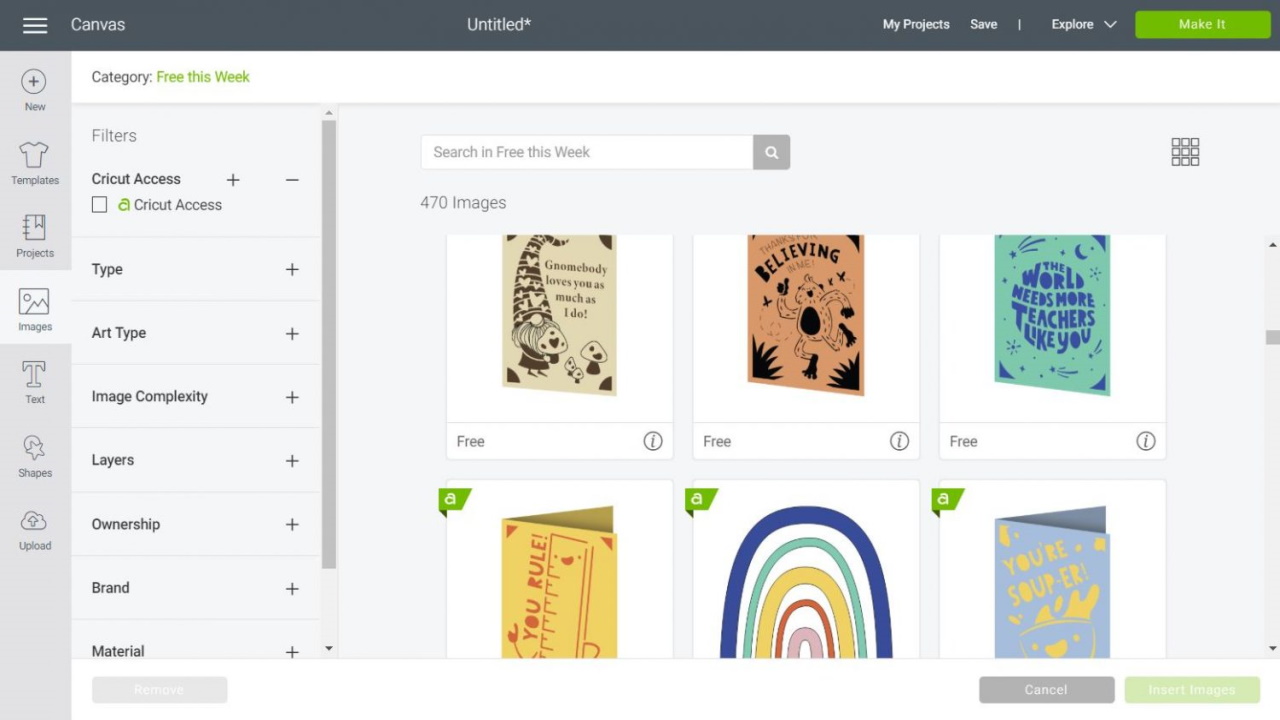
Best Cricut Fonts (Free & Paid)
Let’s go ahead and change its style, because right now its style, and here’s the style menu, it’s set to regular. Well, regular is the cutting font. We need the writing font, the writing style.
Upload Button
We gathered helpful tips from Cricut experts on how to make iron-on & Infusible Ink projects easy and fun. Cricut EasyPress makes iron-on (HTV), Infusible Ink™, and sublimation projects simple. Learn how to get the most out of your Cricut EasyPress. Discover the joy of creating personalized thank you cards in this recorded workshop! Join us as we guide you through the process of making simple and heartfelt "Thank You" cards using your Cricut machine.
Cricut Design Space Tip #10: Rearrange Your Layers
The file that was below it, that’s the one that has all the goodies in it. So if you double click on that one or just choose open, you will see that inside there are the files that we want, and you’re looking for the SVG file. And so now if I want to just, I can de-select that, but I wanna just select the group now. Now I can move it around as a unit, right? But, when I go to cut it, I’m still not going to get them overlapping. They’re still gonna be side to side.
So you can see right now that these two items are grouped. Whenever we upload something that has more than one layer, Cricut automatically groups them. So it’s a great idea to just un-group right away, because it makes it easier. Just get into the habit of ungrouping them, unless, you know, you’re following a tutorial that says, just go for it and click make it, ’cause I have lots of tutorials like that. But for this one, I want you to ungroup them because that allows us to operate and use these layers independently, which is important.
Cricut Mug Press review - Creative Bloq
Cricut Mug Press review.
Posted: Fri, 13 Jan 2023 08:00:00 GMT [source]
We cover all of the basics of the Design Space homepage and canvas. We’ve compiled them here for you. And, because we know everyone learns differently, we’ve gathered a variety of shorter video tutorials, longer step-by-step instructional webinars, and even written content. For most people, the biggest reason for signing up will be access to the huge library of images and fonts. This means that you can make your designs using other software programs such as Photoshop, Make The Cut, or Sure Cuts A Lot.
You’ll also see it over here in the layers panel and it will highlight. So when I click away, also the highlight over here goes away. When I click on it again, it’s selected.
All right, so we’re gonna click on upload image and then we click on browse. Now, you can drag and drop files here. I never do it because I just find it’s not reliable. Instead, I always click on browse and I go find the file I downloaded.
If not, and you can hide and show it with the little eye icon right beside them at the bottom of the Layers Panel. When you’re ready to start a project, scroll back up to the first screen I showed you and click on the big PLUS SIGN icon called “New Project” in the “My Projects” row. Alternately, you can click on the green “New Project” button in the upper right corner of the window. Make something and want to share it with others? You can so long as the canvas contains no uploaded files (like SVG files) and you do not disable the “Public” option. Just save the project then go to your Saved Projects and click Share to get a link you can send others.
So I’m going to click on upload over here on the left and I click on that and we get several options. The one that we care about is this one that says image, and this is where you can upload images, right here with this button. By the way, down here are all the images I’ve uploaded recently.


No comments:
Post a Comment